
This guide shows how modern pest control proposal software combined with visual, on-site inspection best practices helps technicians document issues clearly, build accurate proposals in minutes, and close higher-value jobs with less back-and-forth.
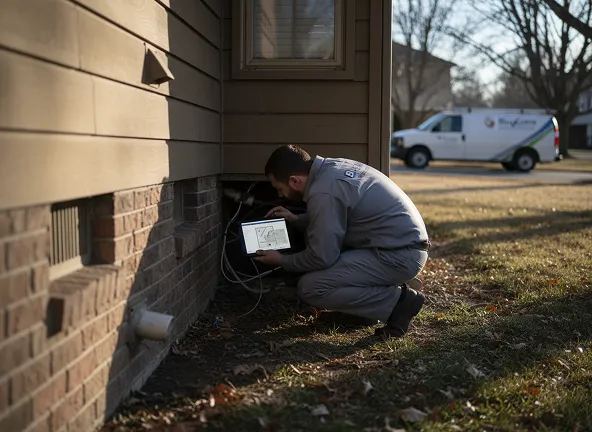
Pest control inspections are increasingly visual. Customers expect to see what you see - entry points, conducive conditions, and treatment zones - not just hear about them. Meanwhile, your team needs a fast way to turn those observations into clear, professional proposals while still on-site.
At ArcSite, we help pest control businesses connect on-site drawings, measurements, and notes directly to proposals and pricing. When technicians capture inspections visually on a tablet or phone, they reduce errors, standardize recommendations, and speed up approvals.
Why visual inspections matter more than ever
Traditional inspection workflows rely on handwritten notes, rough sketches, and separate estimating tools. That creates several problems:
- Technicians miss details when they rush or rely on memory later.
- Office staff struggle to interpret field sketches and notes.
- Proposals lack clarity, leading to more questions and slower approvals.
- Inconsistent documentation makes it hard to standardize treatments and pricing.
Modern pest control proposal software solves these issues by combining visual documentation, takeoff, and estimating in one workflow. Instead of a sketchbook and clipboard, technicians work directly on a digital floor plan or site map in the field.
Done right, visual inspections become a sales asset. They show customers precisely where pests gain access, how far the infestation has spread, and what your treatment plan will cover. That transparency builds trust and helps justify your pricing.
Core visual best practices for on-site pest inspections
You do not need to overhaul your entire process overnight. Start by tightening a few core visual habits that every technician can follow, then layer in tools that make those habits easy and repeatable.
1. Always start with a base plan
Whether you are inspecting a home, restaurant, or warehouse, begin with a clear base drawing:
- Import or trace the building footprint from a satellite image or PDF.
- Sketch key interior spaces: kitchens, storage rooms, basements, attics.
- Mark exterior zones: landscaping, dumpsters, loading docks, and rooflines.
On a mobile CAD-based app, this becomes your canvas for the entire inspection. Everything else - devices, droppings, nests, bait points, and exclusion work - is placed relative to this plan, so your team and the customer share the same visual reference.
2. Use consistent symbols and colors
Visual inspections fall apart when every technician draws differently. Standardize how you represent common items:
- One symbol for rodent stations, another for traps.
- Unique icons for termite activity, ant trails, roaches, or bed bugs.
- Color-coding for risk level - for example, red for active infestations, yellow for conducive conditions, green for preventive treatments.
With configurable symbol libraries, you can bake these standards into your software. Technicians tap a symbol instead of sketching freehand, making your drawings consistent across the entire team.
3. Tie each visual mark to structured data
A good inspection drawing is not just a picture - it drives quantity takeoff and estimating. Every symbol or area should be connected to structured information like:
- Material type or device (e.g., rodent station, bait type).
- Counts and spacing (e.g., traps every 10 feet).
- Treatment type (e.g., interior crack-and-crevice, perimeter spray, exclusion work).
- Service frequency and warranty options.
When each visual element carries data, your software can automatically roll up quantities and pricing. That eliminates spreadsheet math and reduces manual entry back at the office.
4. Capture photos linked to locations on the plan
Photos are critical proof during inspections, especially for commercial accounts and property managers. Best practices include:
- Taking photos of entry points, heavy activity zones, and damage.
- Linking each photo directly to its location on the floor plan.
- Using brief captions to describe the issue and recommended fix.
In a mobile app, tapping a symbol or room should bring up associated photos. When you share a proposal, those same photos provide context for owners and managers who are not on-site.
5. Visualize phases and service levels
Many jobs are not one-and-done. Use visuals to separate:
- Initial clean-out vs recurring service.
- Basic vs premium treatment options.
- Required vs optional exclusion work.
For example, you might highlight mandatory treatments in one color and upsell options in another. When customers can see the difference, they are more likely to choose higher-value packages.
How ArcSite connects inspections to proposals and pricing
Visual best practices are most effective when they plug directly into your estimating workflow. This is where a mobile CAD-based platform like ArcSite stands apart from basic form-fill apps.
From sketch to takeoff in one step
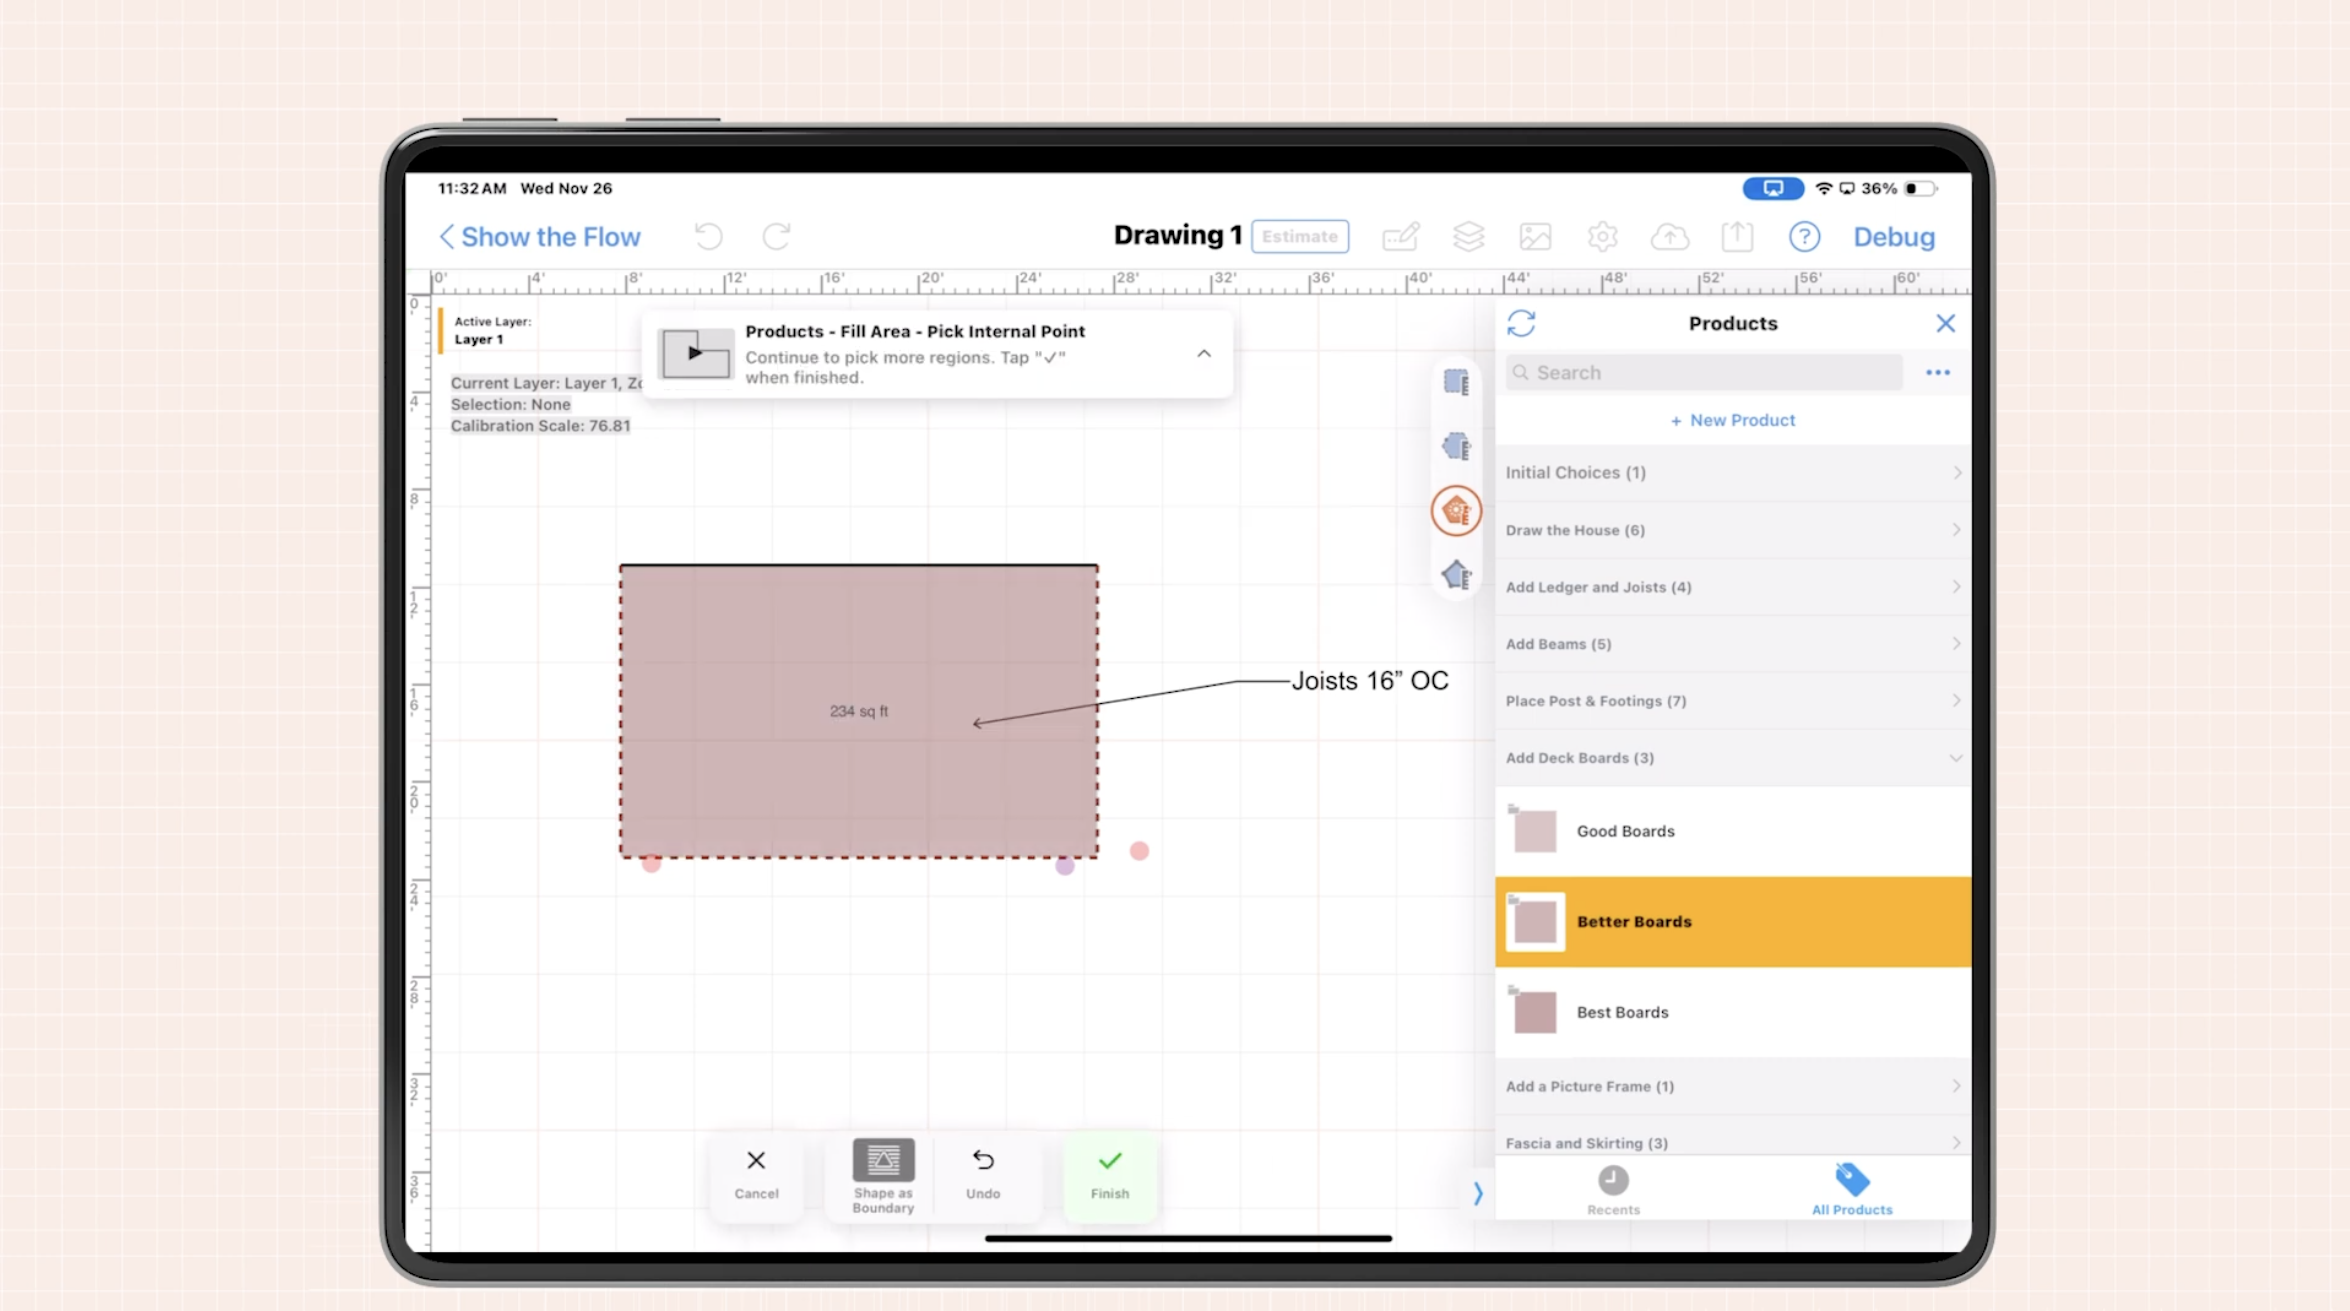
With ArcSite, technicians sketch or trace the property while on-site. As they place devices, treatment zones, and exclusion lines, the app automatically:
- Counts devices and materials.
- Calculates linear footage for exclusion or perimeter treatments.
- Summarizes square footage for interior or exterior zones.
Those quantities feed directly into your price lists and service packages, so the technician sees a live estimate as they complete the drawing. No separate tape measure, notebook, or spreadsheet is required.
Standardized pricing with room for flexibility
Pest control work is varied, but your pricing rules can still be consistent. ArcSite lets you:
- Pre-build service templates for common scenarios (rodent control, termite treatments, bed bug heat treatments, recurring general pest, etc.).
- Set baseline pricing tied to counts, linear footage, or square footage.
- Allow controlled overrides when unique site conditions demand custom pricing.
This balance of structure and flexibility keeps your margins predictable while letting your team adapt to complex properties.
Instant, visual proposals while still on-site
Once the inspection is complete, technicians can convert the drawing and takeoff into a polished, branded proposal. Best practices include:
- Embedding the plan view in the proposal so customers see the exact scope.
- Outlining services line-by-line with clear descriptions.
- Offering good-better-best options when appropriate.
- Enabling e-signatures so customers can approve on the spot.
Because the proposal is built from accurate quantities and standardized pricing, your office no longer has to decipher sketches or redo quotes. Everything the customer sees is exactly what was scoped — building trust and speeding up approvals.
ArcSite: Visual Pest Control Proposal Software That Closes More Jobs
In pest control, fast and clear proposals win. The moment your technician finishes the inspection, the customer is thinking: What’s wrong, what will you do, and how much will it cost?
With ArcSite, the answer is immediate — and visual.
- Drawings become takeoffs. As your tech maps out the property and marks problem areas, ArcSite automatically tallies bait stations, devices, treatment zones, and exclusion work — no extra math required.
- Takeoffs become quotes. Your pre-built service packages and pricing connect directly to the drawing, creating instant, consistent estimates — even for complex sites.
- Quotes become professional proposals. The final output includes floor plans, photos, and line-item services — so clients understand exactly what they’re getting.
It’s one seamless loop: draw, price, propose — all from the field.
Book a Demo and See It in Action
Whether you’re running a solo operation or managing multiple technicians, ArcSite makes pest control inspections faster, clearer, and more professional.
👉 Book a Free Demo and see how ArcSite can help you close more jobs with less back-and-forth.
Categories
INDUSTRY


FAQs
Visual inspections provide clear documentation of pest entry points, infestation spread, and treatment zones, building customer trust and helping justify pricing.
Start with a base plan, use consistent symbols and colors, tie visual marks to structured data, capture photos linked to plan locations, and visualize service phases and levels.
They ensure standardized, clear drawings across technicians, improving communication and reducing confusion.
ArcSite allows technicians to sketch or trace sites on mobile devices, automatically counts materials, calculates measurements, integrates pricing templates, and creates instant, branded proposals with e-signatures.
By capturing photos of key areas and linking them to specific locations on the plan with captions, providing critical proof and context for customers and managers.