How to Build a Deck in ArcSite: 4 Workflows for Every Project Type

For deck contractors, the quoting process can feel like a high-wire act. Miss a single measurement, forget to account for fascia or skirting, underprice your joists—and suddenly a profitable job turns into a break-even headache.
The challenge isn't just accuracy. It's speed. Homeowners expect same-day estimates. Commercial clients want detailed takeoffs within 48 hours. And your crew needs clear, comprehensive material lists before they ever step on site.
That's where ArcSite comes in. Whether you're building a simple 10x10 platform deck or a multi-level outdoor living space with switchback stairs and privacy screens, ArcSite gives you the flexibility to work the way you want—while automatically calculating every board, post, and fastener.
Method 1: Bundle-Based Building
Best for: Contractors who want to capture client preferences upfront and streamline the design
process.
Some projects benefit from making big decisions before you ever start drawing. What type of decking material does the client want? Are they thinking composite or pressure-treated? Do they need demo work before installation? Will they want a picture frame border?
The bundle-based approach lets you answer these high-level questions first. Choose your board type, select your railing style, specify whether demo is required—then start your drawing with those decisions already locked in.
Client preferences are captured early, eliminating back-and-forth later. Your material selections flow automatically into the design as you build, ensuring consistency and accuracy from the first line you draw.
Method 2: Step-by-Step Build
Best for: Experienced deck builders who want complete control over every structural element.
This is the method most deck professionals prefer—and for good reason. It mirrors how you'd actually build the deck in the field, starting with the foundation and working your way up.
Here's the workflow:
- Start with the house. Draw the structure your deck will attach to to establish your reference point.
- Add your ledger. This is the board that attaches to the house and anchors one side of your deck frame.
- Draw rim joists around the perimeter. These boards form the outer edge of your deck frame, shaping it and defining the overall footprint.
- Pro tip: Use layers. Create separate layers for your house, ledger, joists, beams, and boards. This lets you lock or hide layers while working, making it easier to place products on top of each other without interference. Think of it like working with transparencies—you can focus on one structural element at a time without accidentally moving something else.
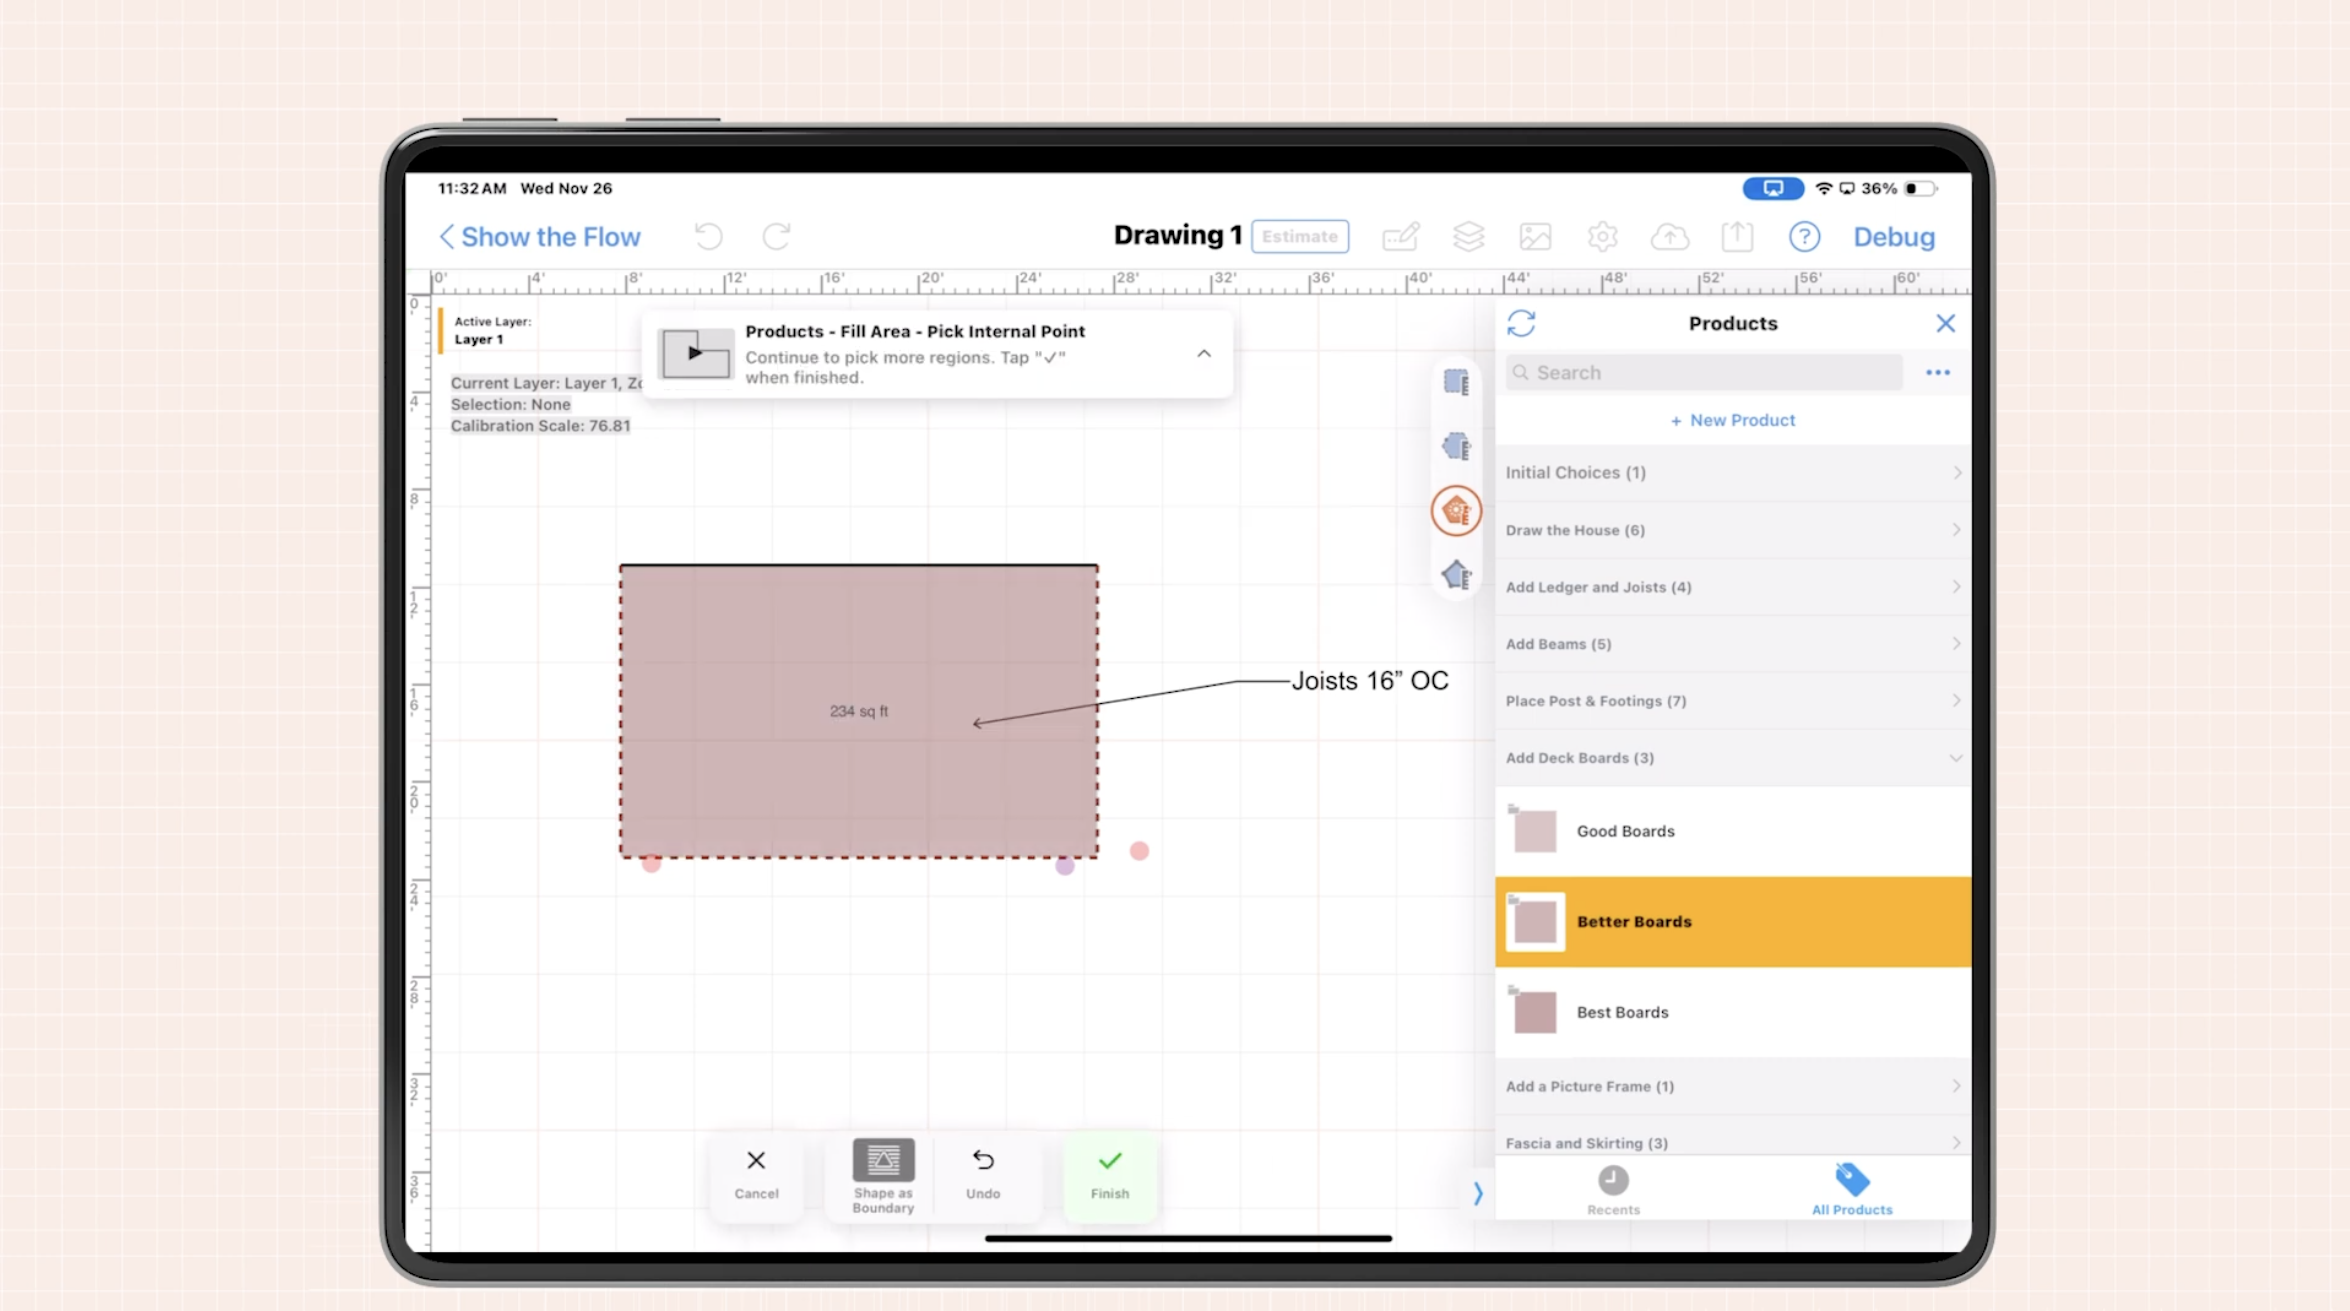
- Add your joists. These are the beams that run from the ledger to the rim joist, providing the structural support for your deck surface. Drop the joist product into your deck area, and ArcSite automatically calculates the quantity based on your predefined spacing (typically 16" on center).
- Place your beam. The beam supports the joists and transfers the load to the posts below. You can cantilever the deck beyond the beam by up to one foot—staying code-compliant while maximizing usable deck space.
- Add posts underneath the beam. These support columns transfer the load from the beam to the footings. ArcSite makes it easy to visualize the full support structure, even in 2D.
- Now for the deck surface. With your frame layers turned off or locked, tap the deck boards product in the center of your area—it fills automatically based on your deck footprint.
- Add finishing touches:
- Picture frame around the perimeter to hide board ends and create a polished look
- Fascia below the deck surface to cover the rim joist
- Skirting to enclose the underside if the deck is elevated
- Add a railing around the perimeter.
- For stairs, select the height you need—three steps, four steps, etc.—and snap them into place. ArcSite calculates all materials automatically, including stringers, treads, and risers.
- For tall decks, add landings—either straight or switchback style—to stay code-compliant. Most jurisdictions require a landing after a certain vertical rise, and ArcSite makes it easy to visualize and price these additions.
- Don't forget accessories. Add benches, planter boxes, or access panels for under-deck storage. If privacy is a priority, drop-in privacy screen kits that function like fence panels for your deck.
- Answer product questions for each element:
- For ledger, rim joist, joists, beams, and posts—select your lumber size (2x6, 2x8, 2x10, etc.)
- For deck boards, choose your style: good (pressure-treated), better (capped composite), or best (premium composite)
- Each board family has color options like oak, latte, or espresso
- For posts and beams, you can add decorative sleeves or wraps for a finished look
- Specify post height since we're working in 2D
- All these choices drive your material takeoff and pricing automatically. Change a lumber size or swap composite colors, and your entire material list updates instantly.
This method gives you granular control over every structural decision while maintaining speed. You're building the way you think—foundation first, surface last—and ArcSite is tracking every material choice behind the scenes.
Method 3: Pre-Built Decks
Best for: Quick-turn residential projects with standard dimensions and straightforward designs.
Not every deck needs to be designed from scratch. For simple platform decks with standard sizes, ArcSite offers pre-built deck templates at the bottom of your product library.
Just drop a 10x10, 10x16, or other standard deck size onto your canvas. Answer a few questions about board type, railing style, and finishes—and all materials are quantified instantly.
When you've got a straightforward project, and the client just wants a number, this workflow gets you from measurement to proposal in minutes. It's perfect for homeowners who need a basic deck and aren't looking for custom design features.
Method 4: Ballpark Pricing in Under 5 Minutes
Best for: Preliminary estimates, budget conversations, or projects where the client isn't ready for a detailed proposal yet.
Sometimes you don't need every joist and beam specified. You just need to give the client a ballpark number so they can decide if they want to move forward.
Draw your deck outline. Add your railing perimeter. Select your board type and railing style. Done.
ArcSite automatically prices it out based on your selections, giving you a preliminary estimate you can present to the client on the spot.
This is a great way to show your client a preliminary estimate before you build out your full plan. If they like the number, you can go back and flesh out the structural details. If it's outside their budget, you haven't wasted hours on a detailed drawing they'll never approve.
Work the Way You Want
These are just a few examples of how you can design your deck workflows in ArcSite. Whether you prefer a methodical structural build, need pre-built templates for speed, or want to lock in client preferences before you start drawing, ArcSite adapts to your process.
Whatever method you choose, ArcSite helps you streamline your estimating, eliminate errors, and focus on what matters most: building trust with your customers and winning more work.
Because at the end of the day, the faster and more accurately you can quote, the more decks you'll build.
Categories
INDUSTRY